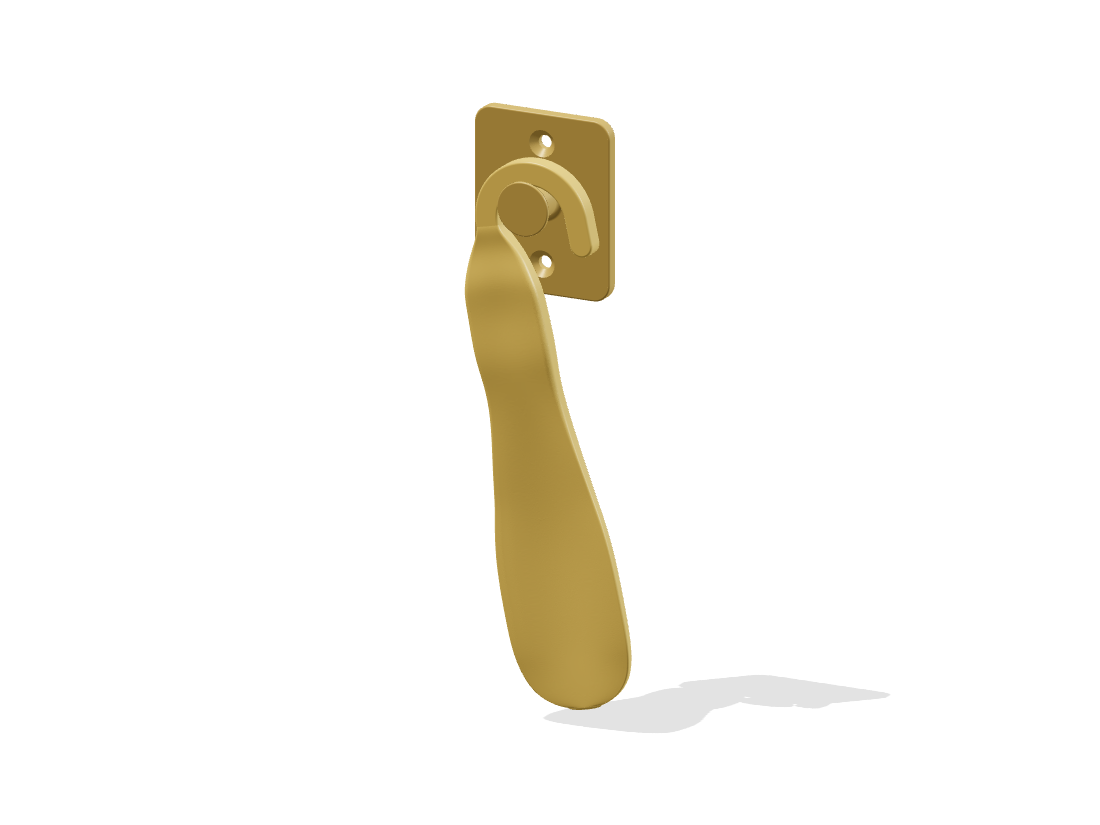
Parts and complete instructions
Designed by Yue Xiaoliang · v6
Parts
- One-piece shoehorn
- The blade, grip and J-shaped hook form one continuous part.
- Wall mount
- Flat areas on the back accept tape; two holes allow screw mounting. The peg and retaining head hold the shoehorn.
Install
Prepare the wall and follow the tape manufacturer’s instructions for application and waiting time. The two flat rear strips accept tape.
Wall material and adhesive are unspecified. Choose screw hardware for the actual wall if using the reserved holes.
Hold the shoehorn with its opening aligned to the retaining head, then move it toward the wall.
Keep it about 6 mm above its resting position. Do not force the hook.
Lower gently until the hook rests on the peg.
The mount is for this shoehorn only. Check the actual adhesive fixing and long-term condition.
Take off / Hang up
Hold the shoehorn and lift about 6 mm to align the hook opening with the retaining head.
Lift before pulling forward.
Keep the raised position and move forward past the retaining head.
Leave the mount on the wall. The shoehorn is one piece and needs no further disassembly.
Keep the hook about 6 mm above its resting position and move it over the retaining head from the front.
Guide it in before lowering.
Lower gently until the hook rests on the peg again.
Check that it is secure before letting go.
undefined
Lift about 6 mm, then pull forward.
See Setup & handling for the complete sequence.
Hold the grip and place the smooth blade between your heel and the back of the shoe. Slide your heel in, then withdraw upward.
Only the shoehorn is shown; foot and shoe contact are not simulated. Do not pry or bear weight on the thin tip.
Guide the opening over the peg from the front, then lower it to rest.
See Install for both motions. Check for rough edges and a secure wall fixing periodically.
Model and validation notes
The owner accepted v6 as complete. Individual shoe fit, grip, adhesive and durability measurements were not supplied. The animation follows the checked hanging path; no new physical tests were performed.