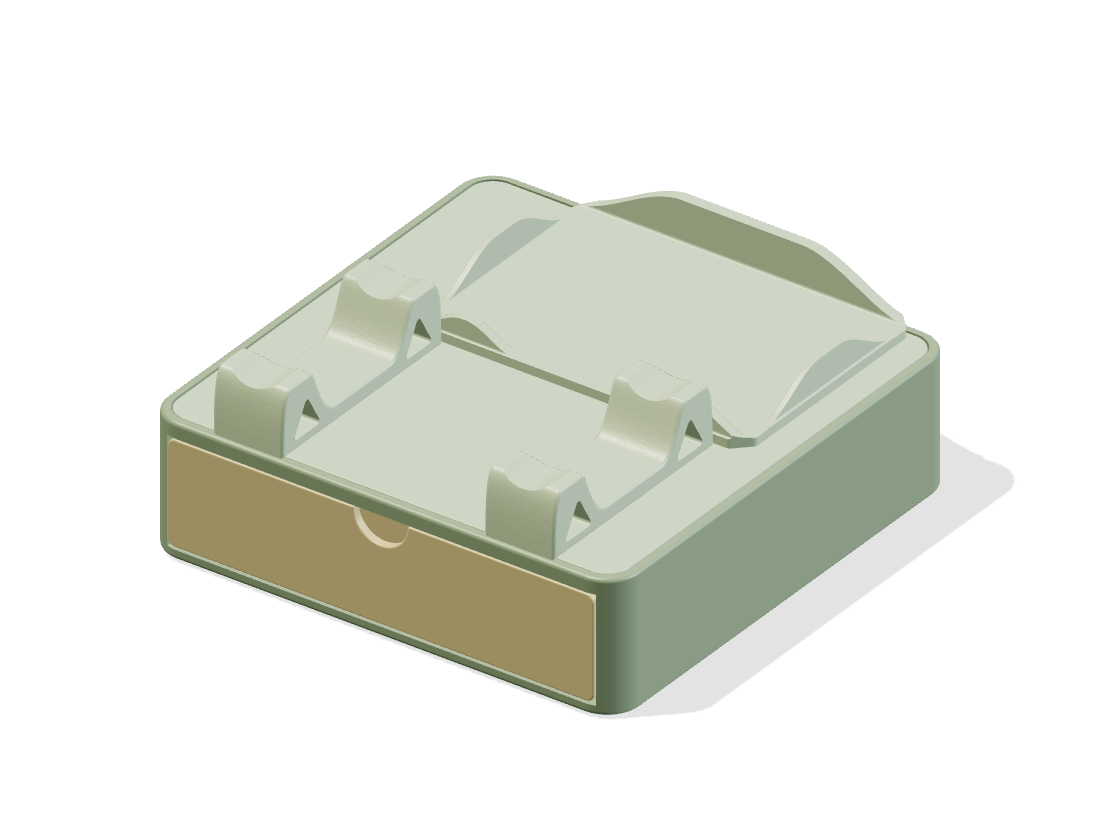
Parts and complete instructions
Designed by Yue Xiaoliang · v6
Parts
- Body
- Supports the assembly and guides the drawer.
- Divided drawer
- One large compartment and six smaller ones keep accessories separate.
- Integrated lid
- The car and controller supports form one removable lid.
Assemble
Place the body on a flat surface. Prepare the lid and drawer, with the drawer open side up and its handle facing forward.
No screws or adhesive are needed.
Align the drawer with the front opening. Keep it level and slide it gently along the guides.
If it catches, check the fit rather than forcing it.
Align the integrated lid with the top of the body, then lower it vertically.
The lid is removable; do not glue it down.
Leave room in front of the drawer and around the lid for daily use.
The animation does not establish a physical fit of the complete assembly.
Disassemble
Remove the car, controller and accessories before taking the stand apart.
Set the stand on a stable surface.
Hold both sides of the lid and lift it vertically to expose the interior.
The car and controller supports are part of the same lid.
Pull the drawer straight forward along its guides, supporting it underneath.
Disassemble for cleaning and fit inspection.
undefined
Pull the drawer forward. Use the large compartment for larger accessories and the small ones for sorted parts.
Try moving the drawer with the slider below.
Keep the drawer level and slide it back until the front panel returns to the body.
Keep loose items below the compartment edges and clear of the lid.
Lift off the lid to inspect and clean the body underneath.
The two front supports hold the car; the rear tray holds the controller.
Model and validation notes
The main supports have been physically test-fitted. The complete body, drawer and lid have not been tested together. This page illustrates the intended motion.